Creating a simple vegetable plot
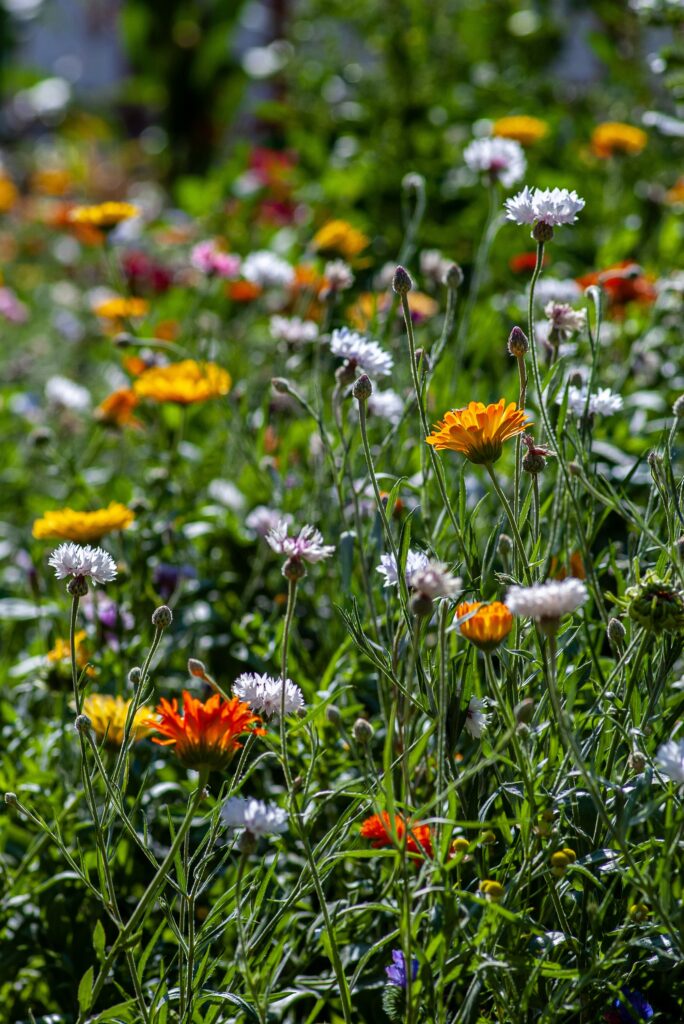
Whilst most of my gardening work is ornamental – flowers, trees and meadows, I am occasionally asked to set up a simple vegetable plot within a garden; this year I am developing a small area about 3 metres X 8 metres on a piece of ground that used to be lawn. In the past, I would have stripped off the turf layer and then spent many hours moving the turf to a topsoil pile, digging the whole bed over and then raking it to a fine tilth. This was how I was taught to make beds over 40 years whilst in the parks department and although they look impressive – neat edges and freshly dug, level soil, they have many drawbacks. The first and most obvious is the amount of labour required – not just in the preparation, but also in the upkeep: once the soil is ‘open’, it needs attention in the form of constant weeding before the vegetables have become mature enough to do this job for me. The second problem is that by removing the turf and digging the soil, I am disturbing and depleting the rich mycorrhizal network that lives in the top few centimetres of the soil, a network becoming more and more recognised as beneficial for soil health. Additionally, the useful air passages created by worms are removed, meaning that more artificial means will be needed to keep the soil aerated (hoeing, digging).
I was all set to continue with this system, but luckily was reminded by friends that there is another way – the no-dig vegetable garden championed by Charles Dowding. (1) This is a simple and (hopefully effective) way of creating a vegetable plot from scratch with the minimum of effort and soil disturbance. I say, hopefully, because this is an experiment for me and even though I am assured it will work beautifully, I still feel a little uneasy changing my long-set habits! Below is the step-by-step process, in my case on an existing lawn.
1. Mow the whole area on a low cut to remove as much growth as possible.
2. Mark out the bed dimensions.
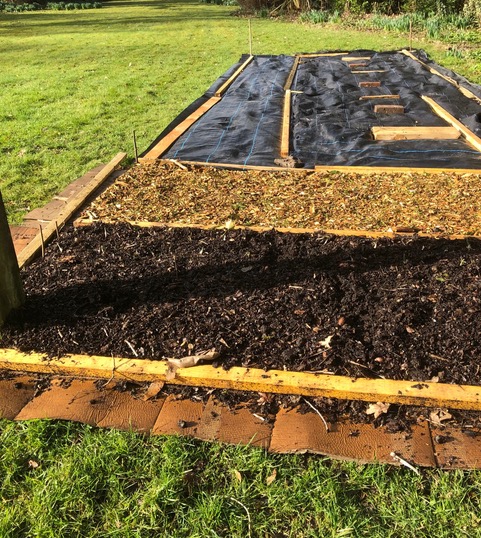
3. Cover the whole area with a layer of cardboard, ensuring there is a good 30cm strip around the edge wider than the bed. (This prevents encroaching grass and weeds). The cardboard should have as little ink and plastic as possible to minimise soil pollution. Large pieces are more effective and should overlap with their neighbours.
4. Cover with a thick layer of compost and leaf mulch, ideally up to 10cm.
If paths are required, then wood/bark chips to a depth of 5 cm can be added between beds, also with cardboard underneath.
5. A simple edge to hold the soil in is also recommended, thick straight branches of hazel or chestnut are ideal, but otherwise any scrap wood will work.
6. Any areas not immediately required can be covered with a semi-permeable weed membrane, (weighted with wood or bricks against the wind). This saves on unnecessary weeding of ‘open soil’, whilst being ready for new beds when the time comes.
I am reliably informed that this is all I need to do, and I can now plant directly into the soil. The question of whether or how the new plants can grow through the cardboard layer is interesting, I imagine that shallow-rooted plants like garlic will not have a problem and perhaps deeper-rooted herbaceous plants e.g herbs might need a little help (with a small hole punched in the cardboard) whilst the cardboard is still strong. However, after a few weeks, particularly if it has rained, the cardboard will have become soft and it won’t be a problem.
An interesting experiment for me: I’ll report back throughout the next months on how it works out in practice.